Evacuation Diagrams are used to display a pictorial representation of a floor or area. In Queensland an evacuation diagram is required for most buildings in accordance with the Building Fire Regulations of 2008. Tasmania also has a similar requirement for specified buildings. Whilst other states/territories in Australia do not specifically require evacuation diagrams/signs they are an effective way to convey emergency evacuation information and contribute to compliance with state OHS requirements.
Duty holders are required to ensure safe access to and from the workplace for all employees/visitors. A well planned evacuation procedure will go towards complying with this requirement.
To help you develop your own evacuation diagram you can download a free word template here. Using Microsoft Word you can draw your own building and mark the relevant emergency equipment using the free icons provided within. The template is provided on an as-is basis and the author accepts no responsibility for its use.
Click here to download the free evacuation diagram template
Some general guides to evacuation plans
- The minimum size of an Evacuation Diagram should be A4 (i.e. 210mm x 297mm) the pictorial representation of the area should be no less than 200mm x 150mm.
- An evacuation sign incorporates the evacuation diagram and other relevant emergency and evacuation information.
- The minimum size of an evacuation sign should be A3 (i.e. 297mm x 420mm) the minimum size of the pictorial representation of the area should be A4 (i.e. 210mm x 297mm)
- Individual evacuation diagrams must have the correct orientation with regard to the direction of egress and its location to the ‘You are here’ point.
- An assembly area diagram should be included and must have the same orientation to the rest of the diagram.
- Evacuation signs/diagrams should be located on each evacuation route of the building.
- Diagrams must be securely attached to a wall or the internal side of a door in a conspicuous position. Sticky tape, blue tac or velco is not satisfactory.
- The evacuation diagram should be positioned within a zone at a height not less than 1200mm and not more than 1600mm above the plane of the finished floor.
- The sign should be orientated in line with the building (meaning the diagram must be understandable to a person reading the sign and the instructions must be accurate and correspond to the building layout).
Using Australian Standard 3745 the following Evacuation diagram checklist has been developed. Whilst AS3745 is not a standard recognised within state/territory legislation it provides a minimum national standard for emergency planning. The standard is available from SAI Global for purchase by clicking here.
|
|
The title ‘EVACUATION DIAGRAM’ |
|
|
The ‘YOU ARE HERE’ location |
|
|
The designated exits in the facility, which shall be green |
|
|
The route from (you are here) to the nearest exit |
|
|
The following communications equipment, where installed: – Warden intercommunication points (WIPs) which shall be red; – Manual call points (MCPs) which shall be red; and – Emergency call points (ECPs) which shall be coloured white, or have a black border; – Main controls / panels for the occupant warning system |
|
|
The locations of manually operated fire alarms, e.g. break glass alarms |
|
|
Hose reels, which shall be red |
|
|
Hydrants, which shall be red |
|
|
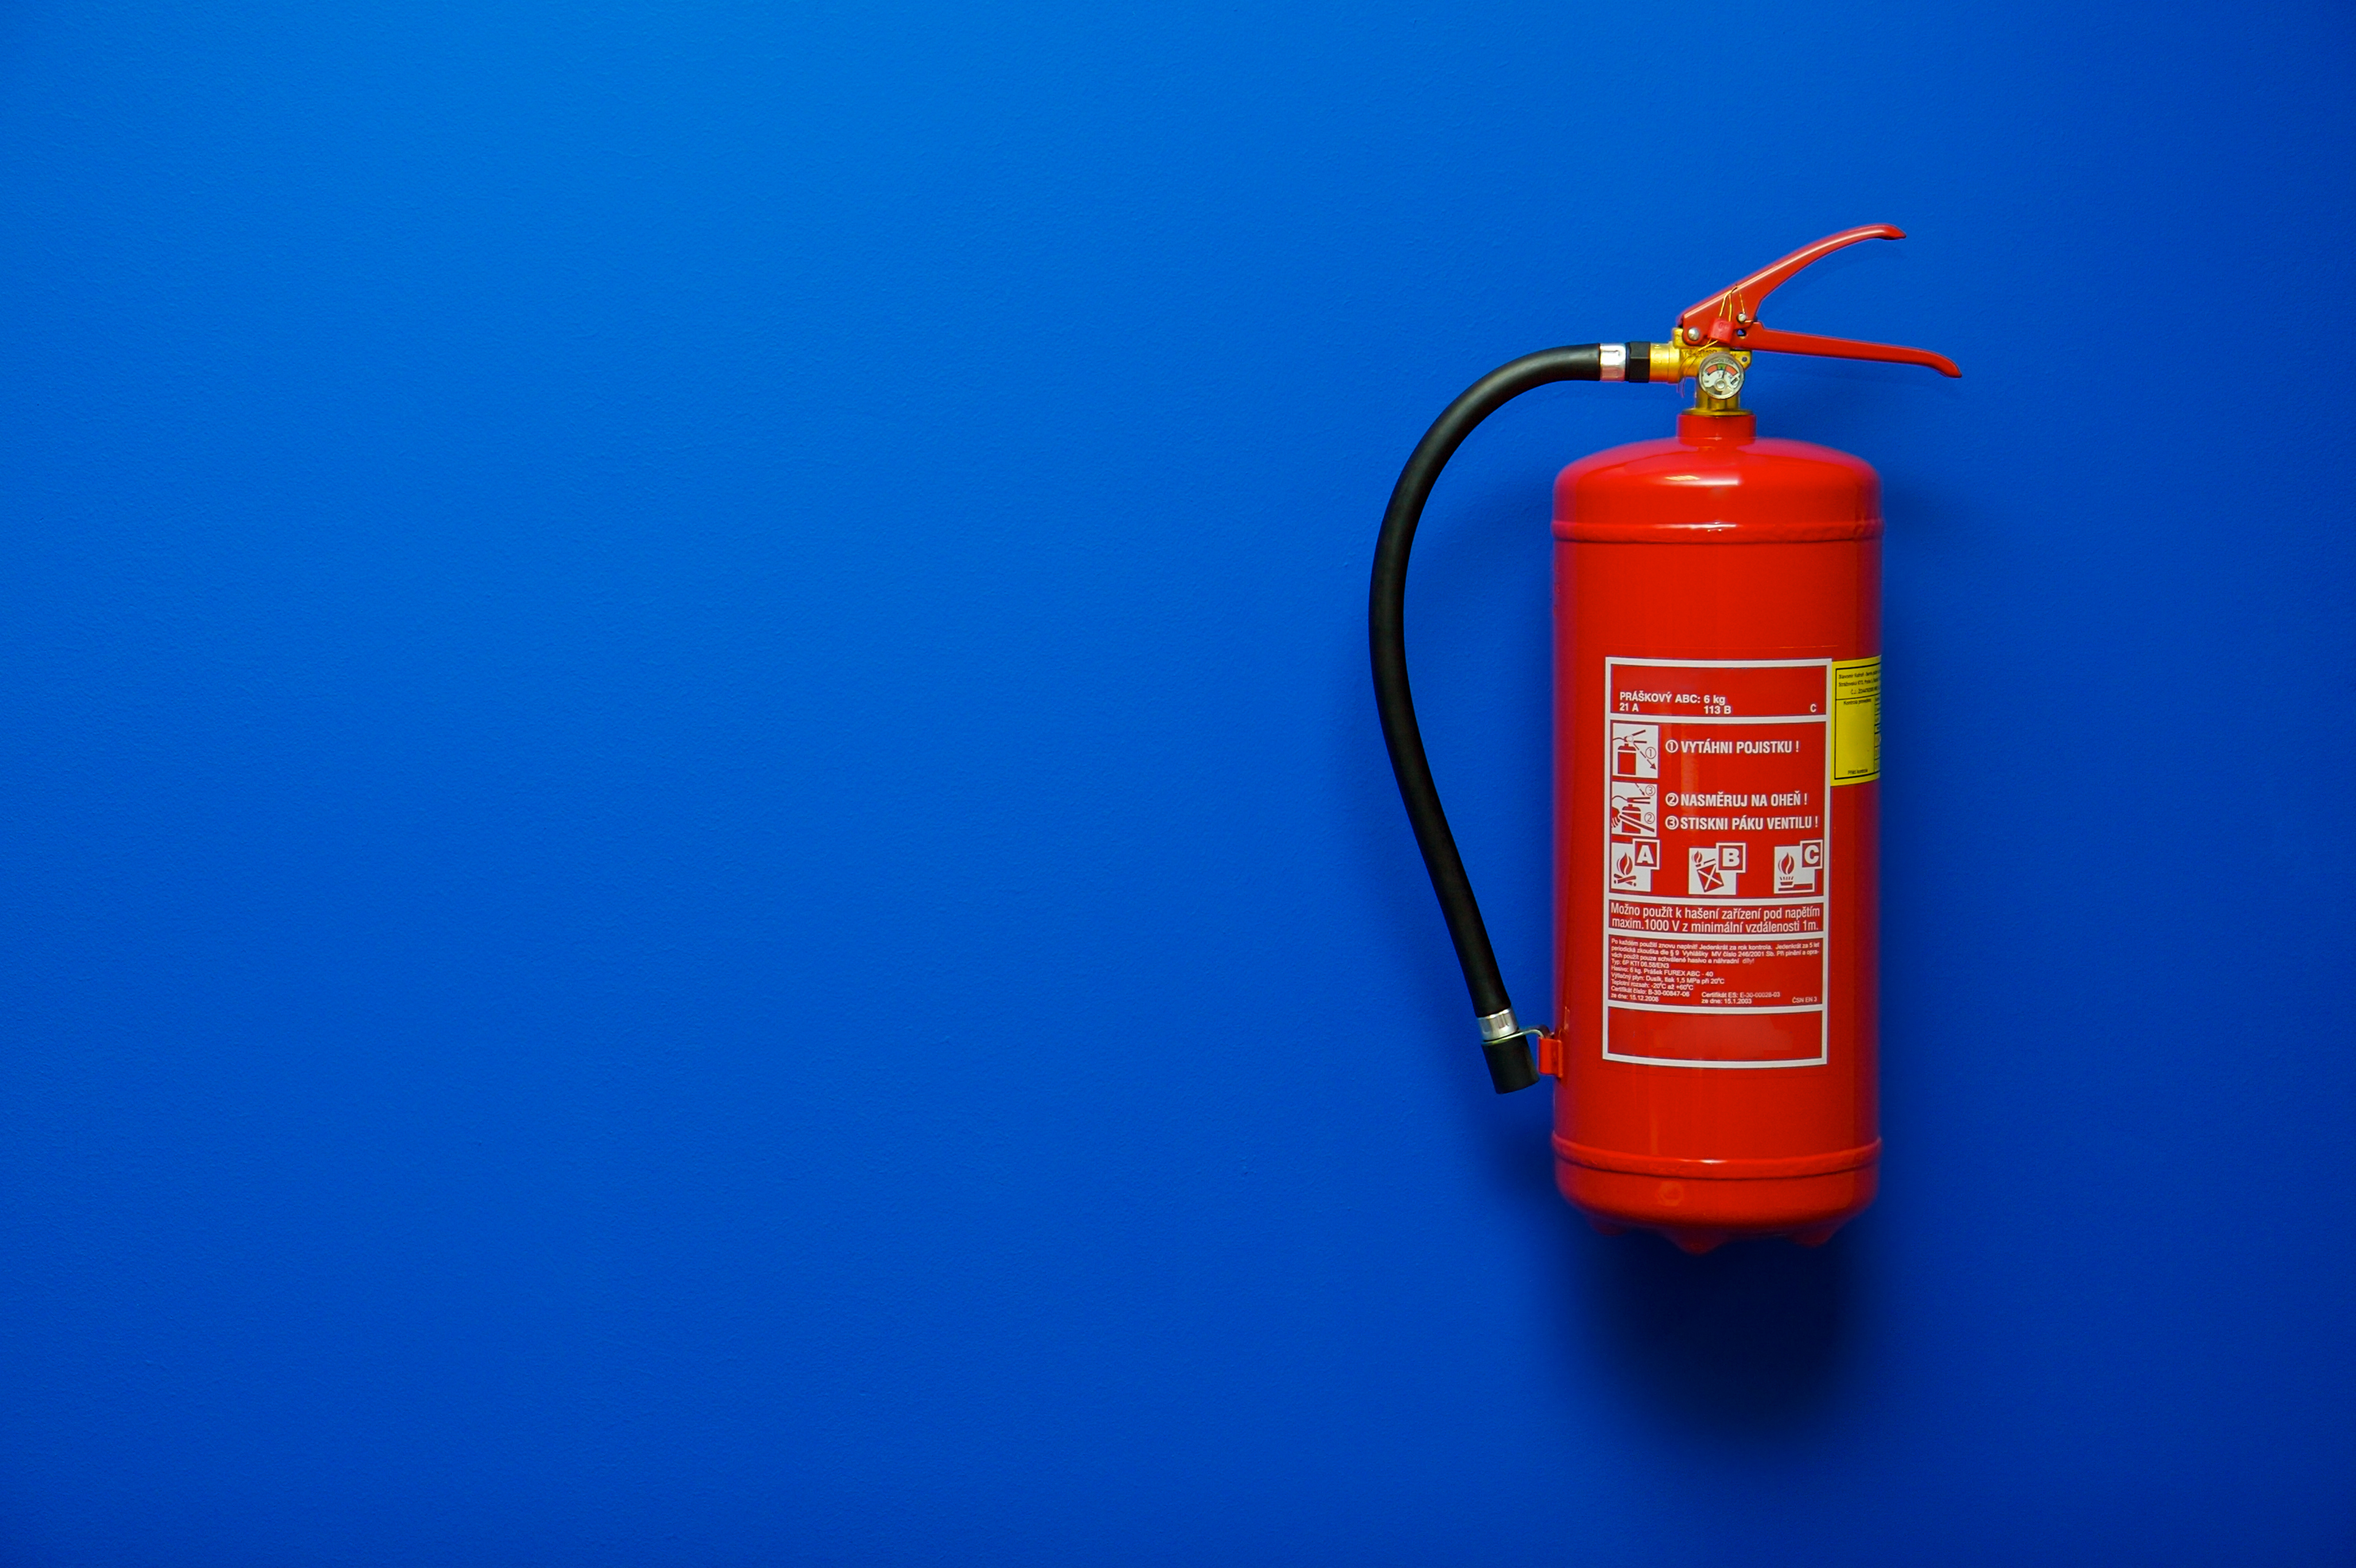
Extinguishers, which shall be red with an additional appropriate colour as specified in AS/NZS1841.1 |
|
|
Fire blankets, which shall be red |
|
|
Fire indicator panel (FIP) if provided |
|
|
Refuges, if present |
|
|
Validity date |
|
|
Location of assembly point(s) |
|
|
The route from each exit to the assembly area |
|
|
First aid kit locations, coloured green |
|
|
A legend of symbols used |
3 Responses
-
Lorraine Gepps/ 21 Feb 13 @ 12:36 AM
I just like the useful data you produce into your article.I will bookmark your blog and check back regularly. Thanks!
-
Nasi Jhadav/ 22 Feb 13 @ 8:16 PM
Thanks for the great article..
Sam Walsh/ 25 Dec 12 @ 7:33 AM
What’s up, I check your blogs on a regular basis. Your writing style is awesome, keep up the good work! Thanks for the free tools!!